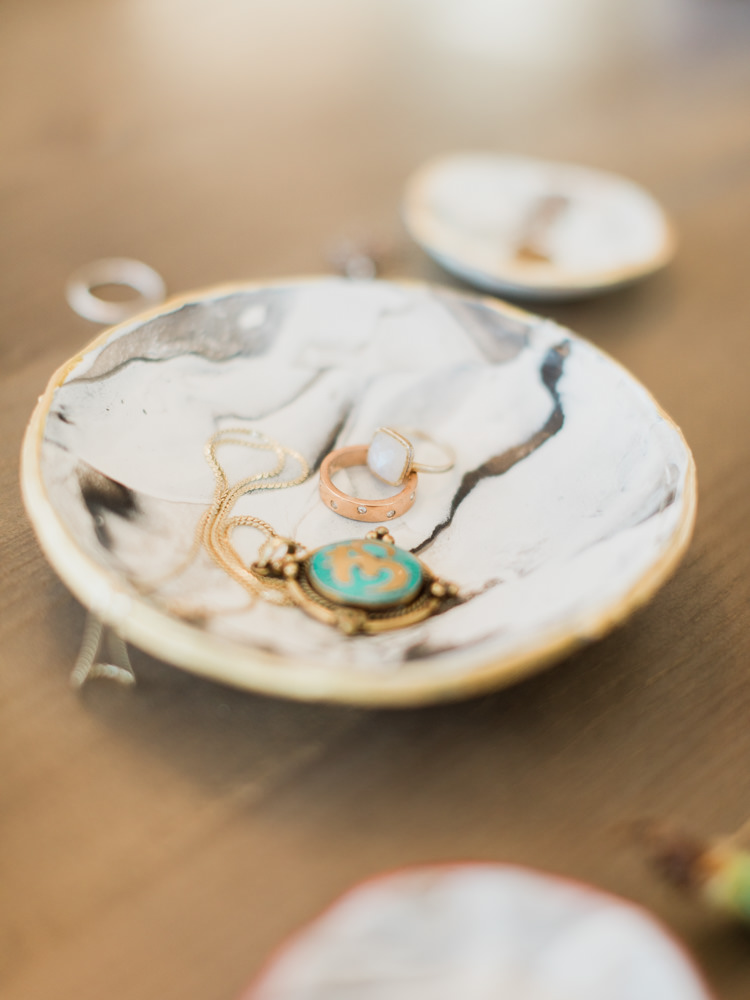
How to Make a Marbled Clay Ring Dish
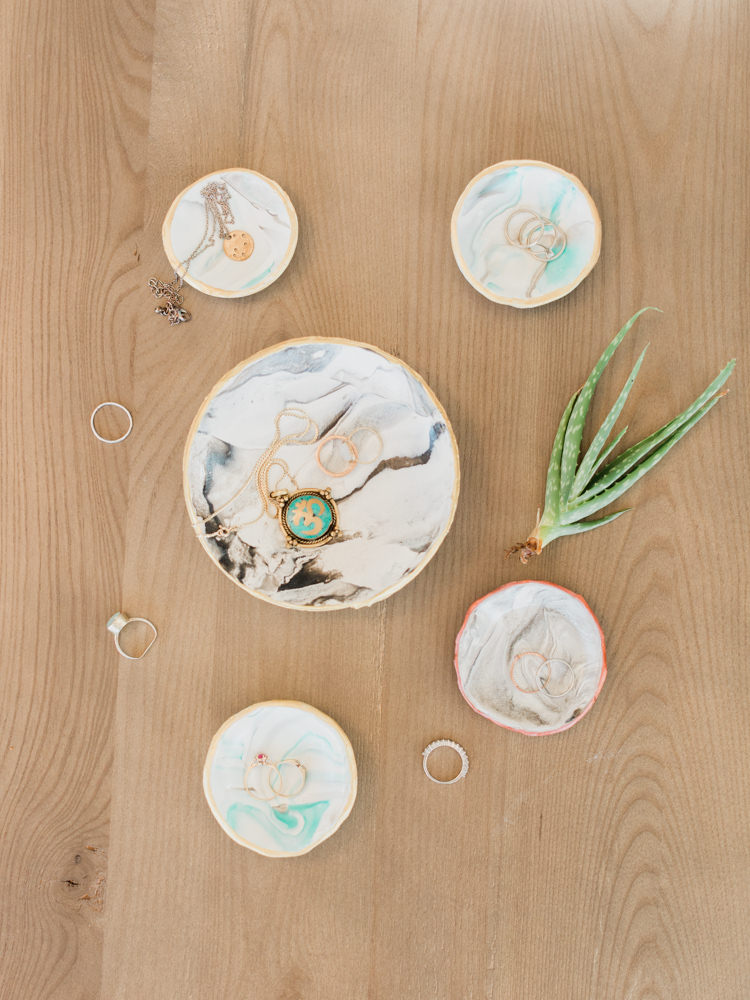
These super cute DIY faux marble clay ring dishes are so cute and super simple to make. No, I mean REALLY simple and cheap! I saw some really adorable marble dishes at HomeSense, but they were clunky and expensive. I wanted something I could use for styling details in my wedding photography that would offer variety based on colour schemes but not break the bank. Enter, the internet and Pinterest! Why spend a tonne on pre-made ones when you can make several from a couple blocks of clay from the craft store for a few dollars? After the materials, each bowl should really only cost about fifty cents to one dollar!! Plus they are so fun and relaxing to make.
These cute bowls can serve as a place to store your rings, keys, trinkets OR be used as wedding favours, easy Christmas or special occasion gifts. One neat and easy idea, would be to paint the names of your guests on them and use as place cards that double as favours.
Since these bowls use polymer clay as opposed to earthen clay, they will still be a bit soft when they harden. They will feel lightweight and more like rubber but will look like marble. That’s just fine since they will still do a beautiful job holding your trinkets or showcasing your wedding details!
Please keep in mind that these are not suitable for eating out of. Should you choose to glaze these bowls and give them as gifts, please let that person know with a kind note.
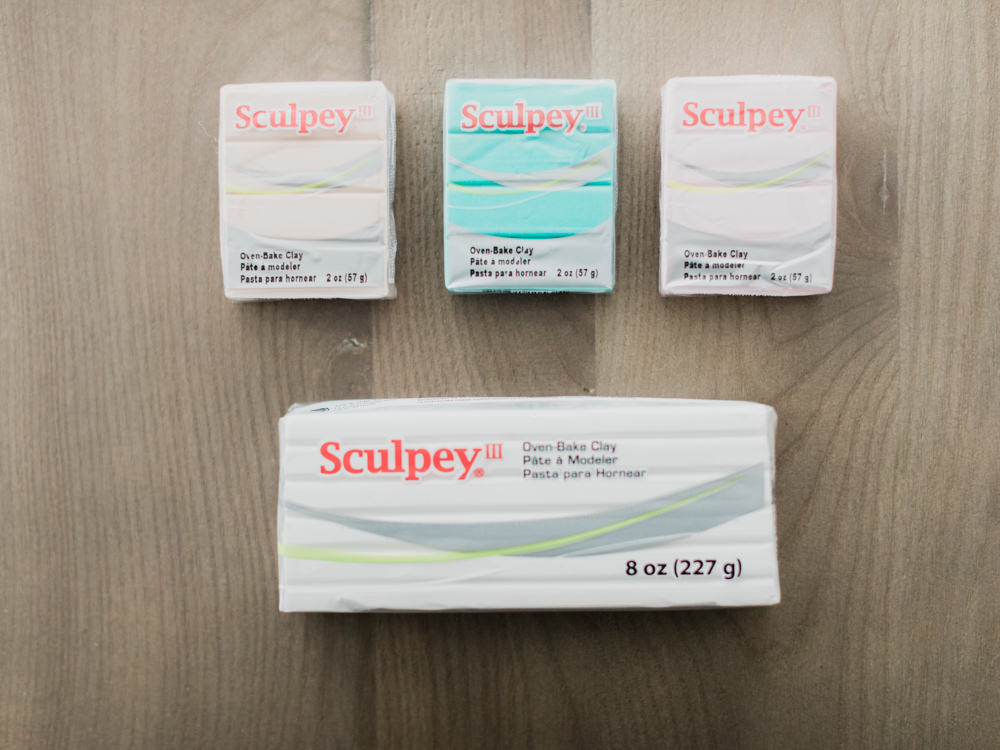
You will need:
–white, black
, and colored
oven bake clay (a few ounces of colored clay and the 1.75 pound white clay will make you several dishes!)
-X-Acto knife or plastic clay knife, or even a butter knife if you have slippery fingers. If you have clay edging tools those are great too
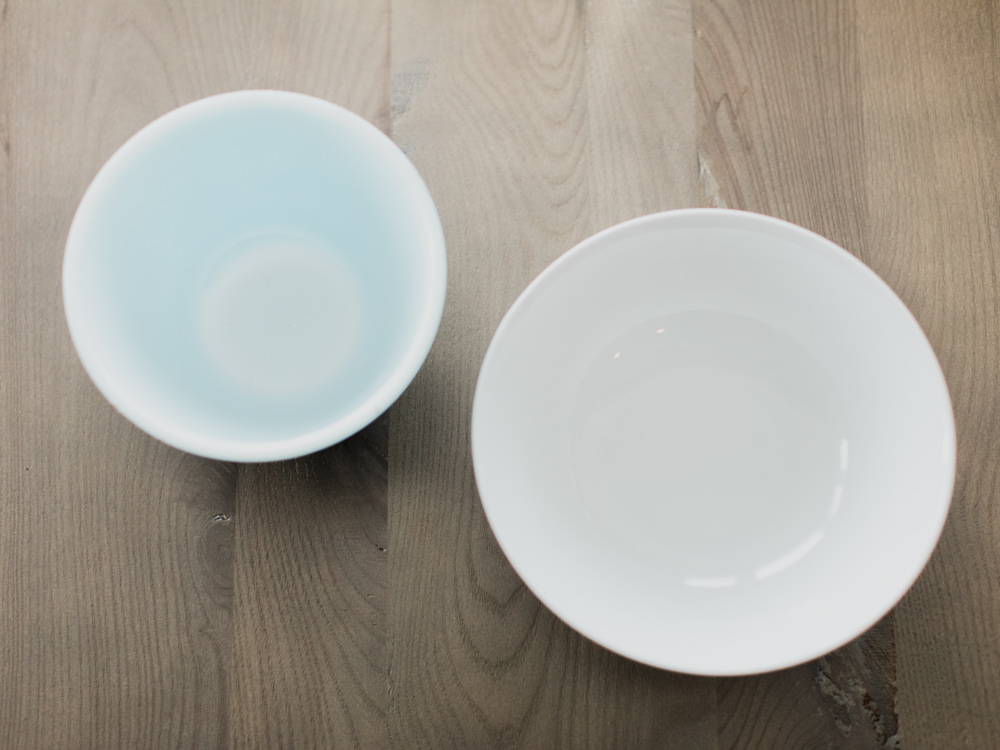
-small bowls or baking ramekin that is oven safe
–gold liquid gilding and small paintbrush (I couldn’t seem to find gilding anymore, sharpie, nailpolish and acryclic paint can work too!)
-rolling pin or something large and round to roll with
-a can or bowl to trace the opening depending on what size you’d like your dish
–glaze to seal dish. This is optional, but I find it looks much more chic after!
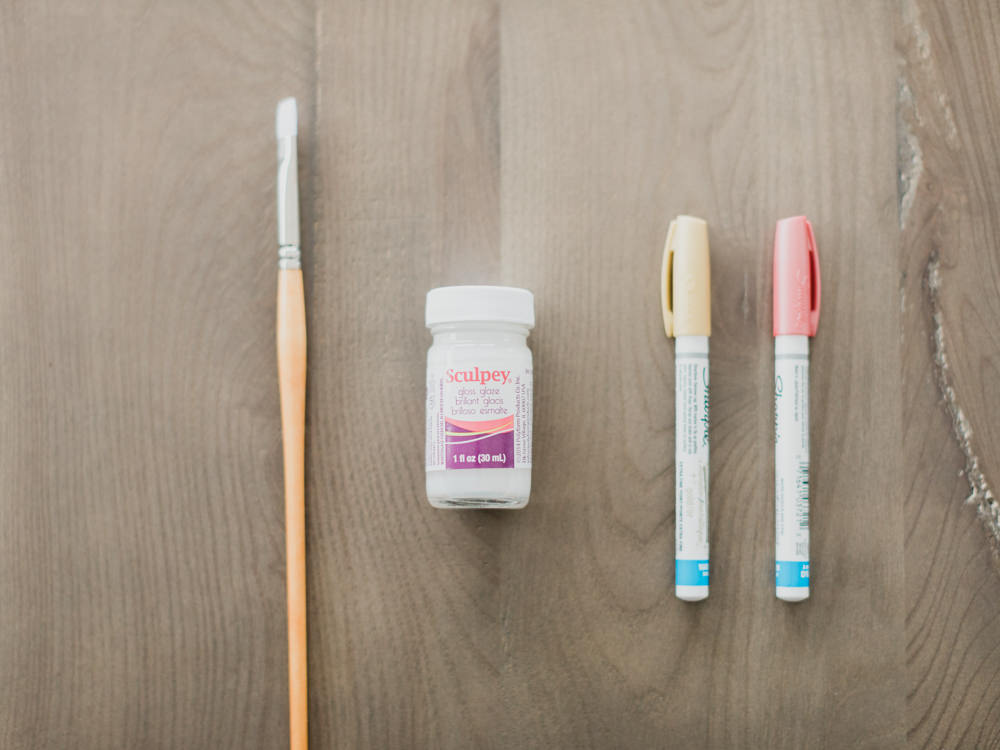 *not shown: gilding and acrylic paint…I couldn’t find my gilding in my art kit *cries**
Instructions:
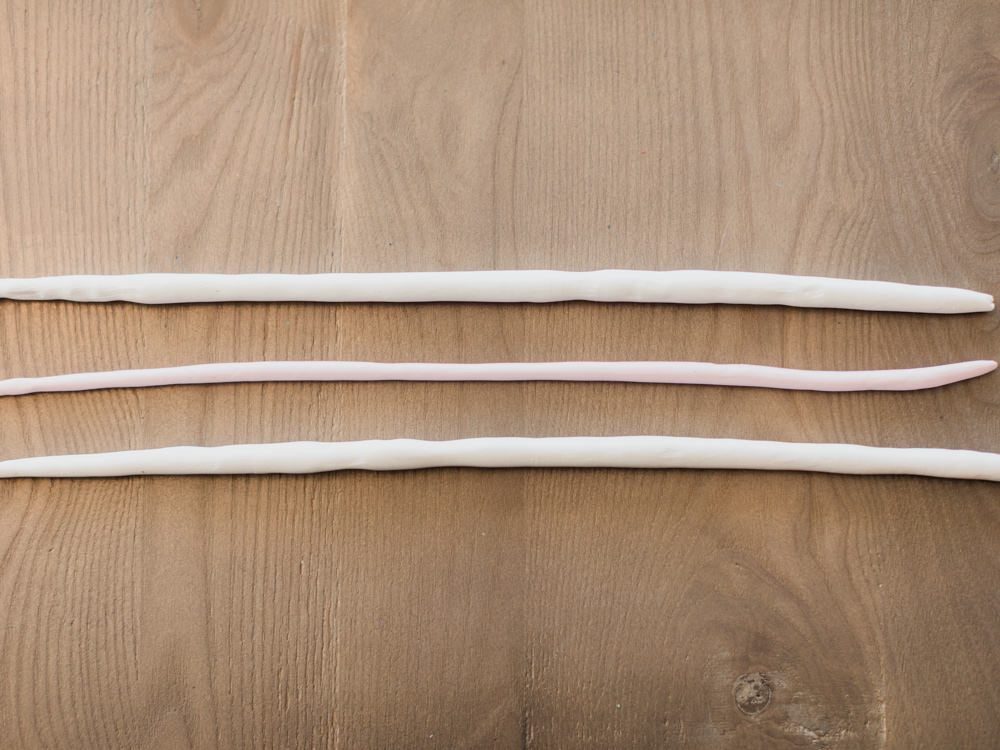
1. Set your oven to 275 F. Roll each colour of clay that you want to use into a snake about 5″-9″ long depending on the size of bowl you’d like. I usually make two larger rolls of white, a medium roll of grey, a small roll of any colour I am using, and then an extra small roll of black. You basically want enough total clay to roll out a 6″ circle. It’s not an exact science, and two bowls will never be alike!
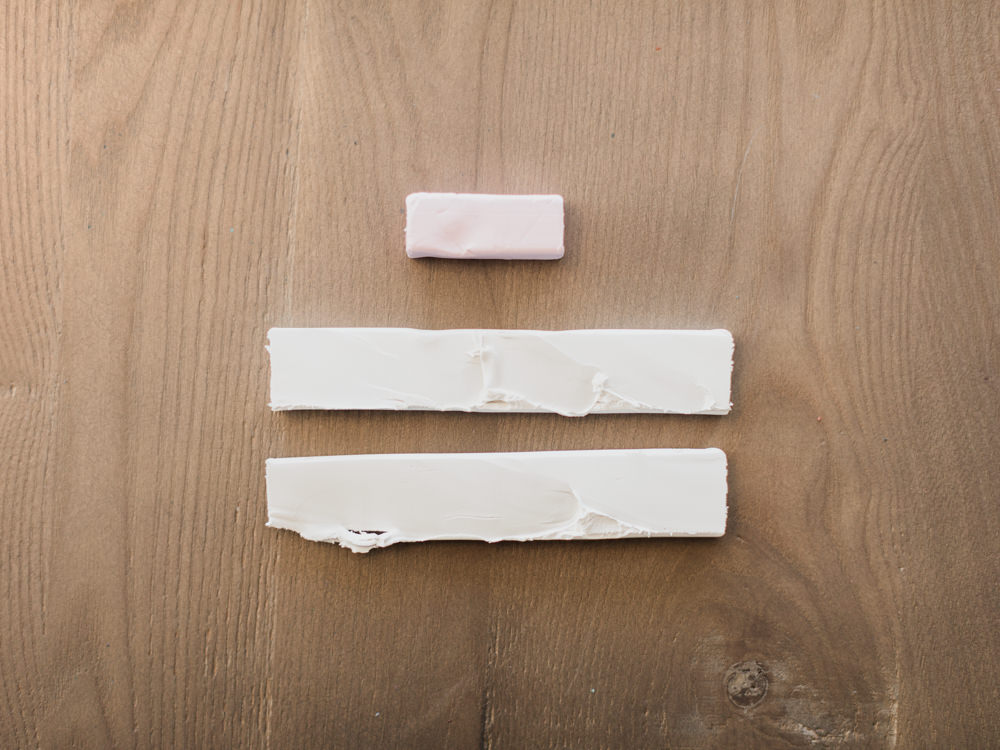
For this bowl I decided to not have gray, only a slight streak of pink in the clean white.
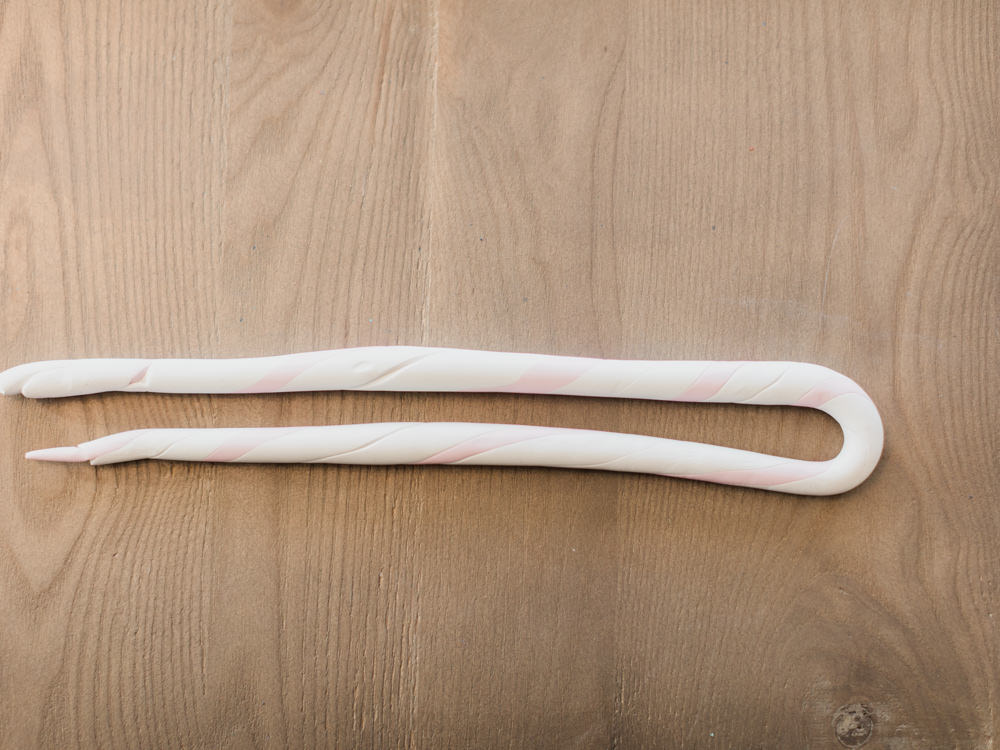
2. Combine the smaller rolls together. I like to alternate my colours in between the white strands. Then, gently begin to twist, and twist to form a rope of alternating colours.
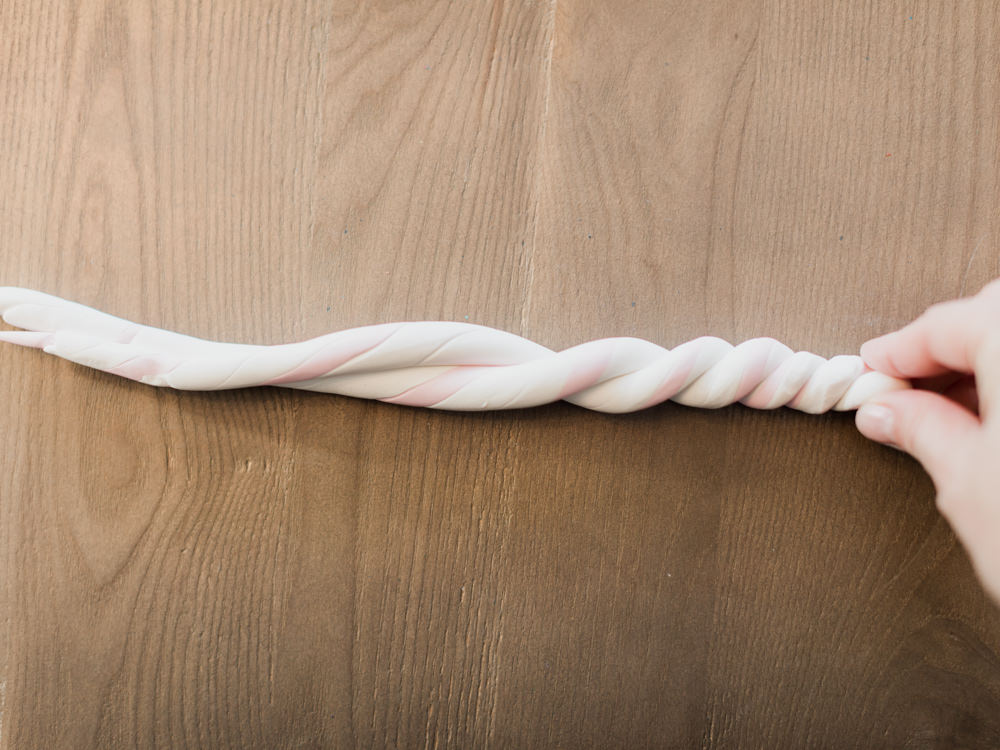
3. Gently roll the large twist back and forth into a snake about twice the original length to combine the colors. Do this portion on a surface that you have not rolled out individual colours on, as I found the whites “picked up” residual transfer from the surfaces used previously. Twist the ends opposite ways after every few motions to get kind of a candy cane effect. Once it’s twice the length, fold the snake in half and twist the two ends together, as pictured above. Repeat the rolling, folding, twisting, and rolling again process until you start to see the colours less “bold” and striated, and more of a marbled look. This step is purely based on when you think it looks good. 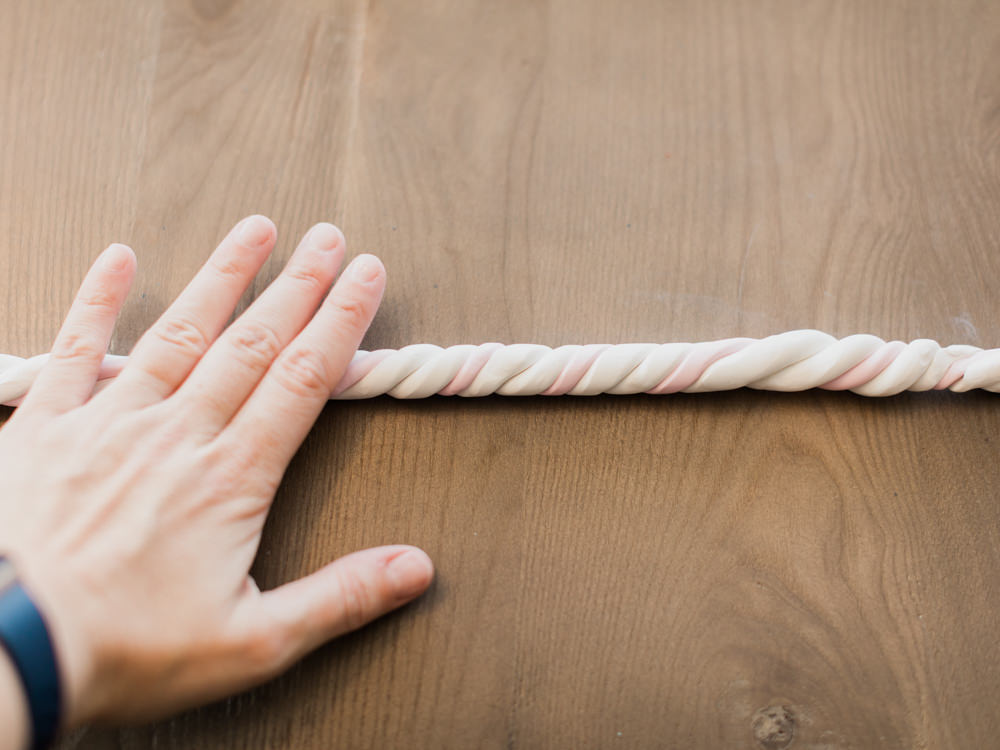
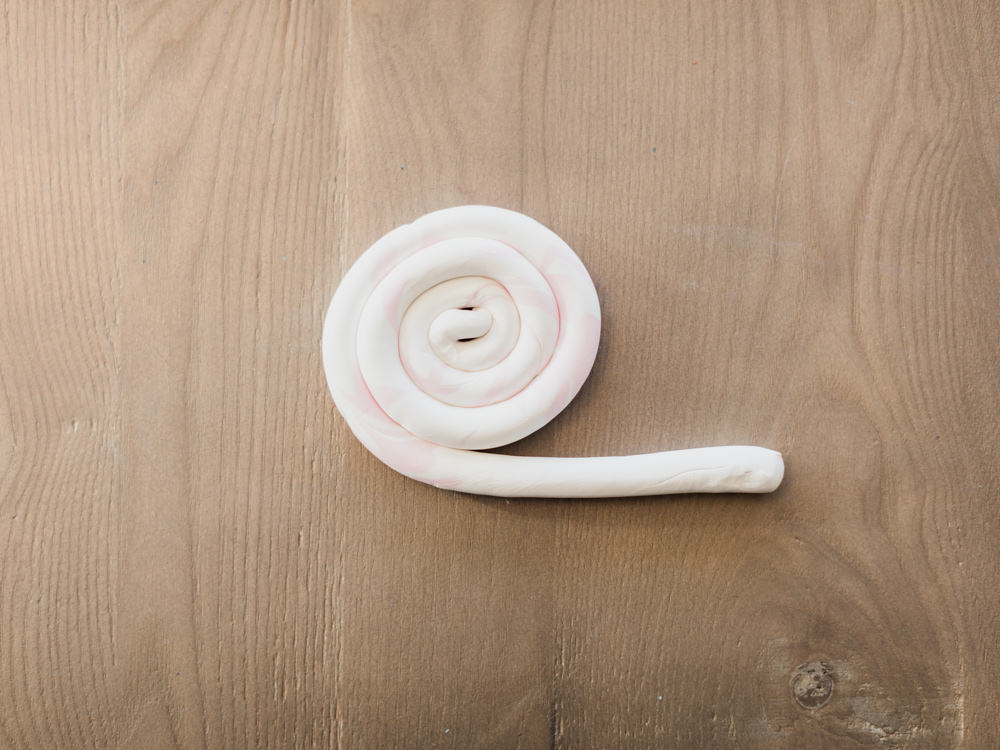
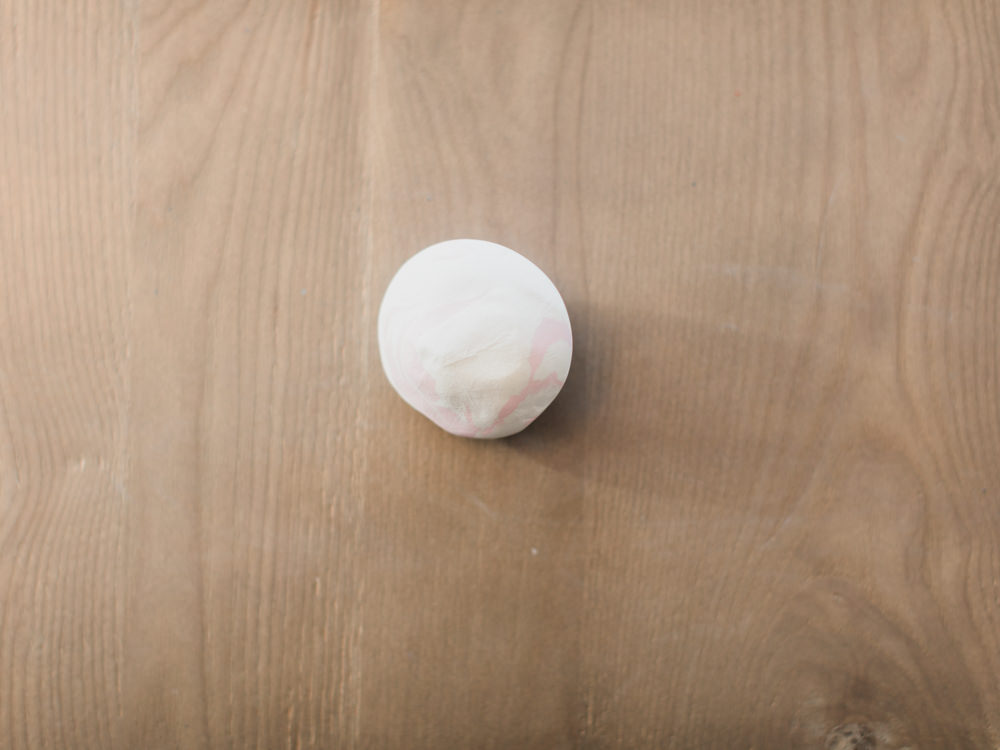
4. When your final snake is rolled out, roll it up like a cinnamon bun (hungry now?!) and then smoosh it into a ball, and roll that ball on the surface until it’s smooth. If you don’t see most of your colours on the top of the ball, cut it in half and smoosh it back together.
5. Use a rolling pin or glass jar to roll out your marbled ball. Remember to frequently, and gently pull your slab up off the surface then continue to roll so it does not stick to your surface or rolling pin! Roll in different directions, from the edge, from the centre, which will push the clay from different angles. Roll to about 1/4″ thick.
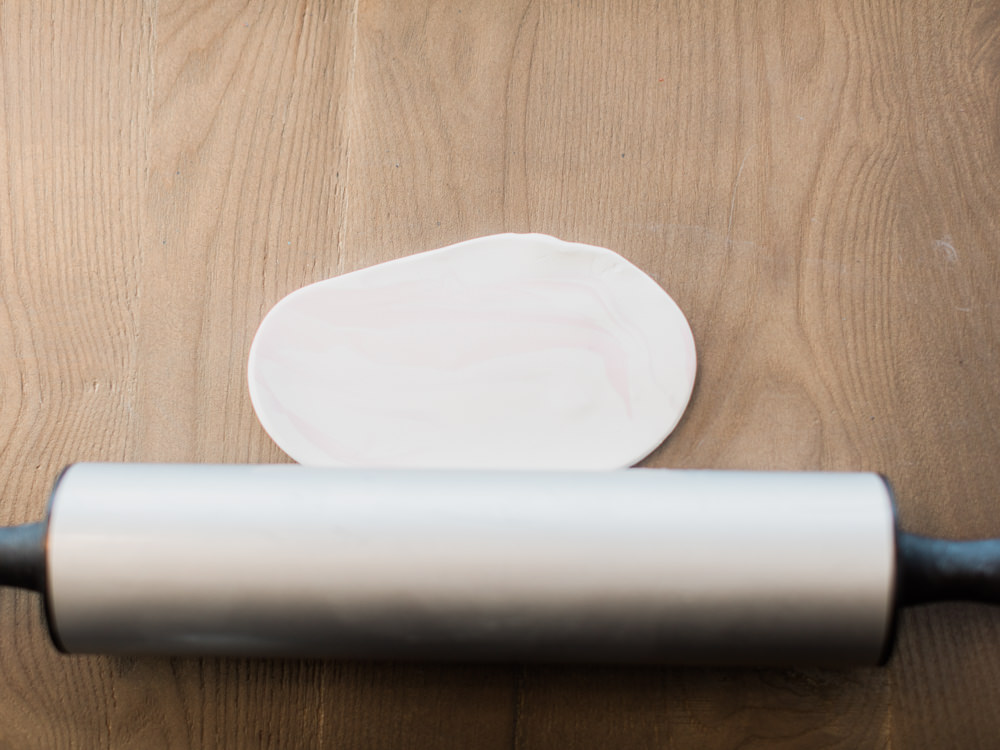
6. Lift your clay off the surface and place back down a final time before cutting or it will stick. I found I actually preferred the underside after all of the rolling! Use a round item about 6″ wide (or smaller if you are making little bowls and cut out your dish circle with an X-Acto or even a butter knife. Determine whether you prefer more of an “unfinished” look to the edges, or if you want something smoother and flat, use a clay tool or a knife to gently make the top event.
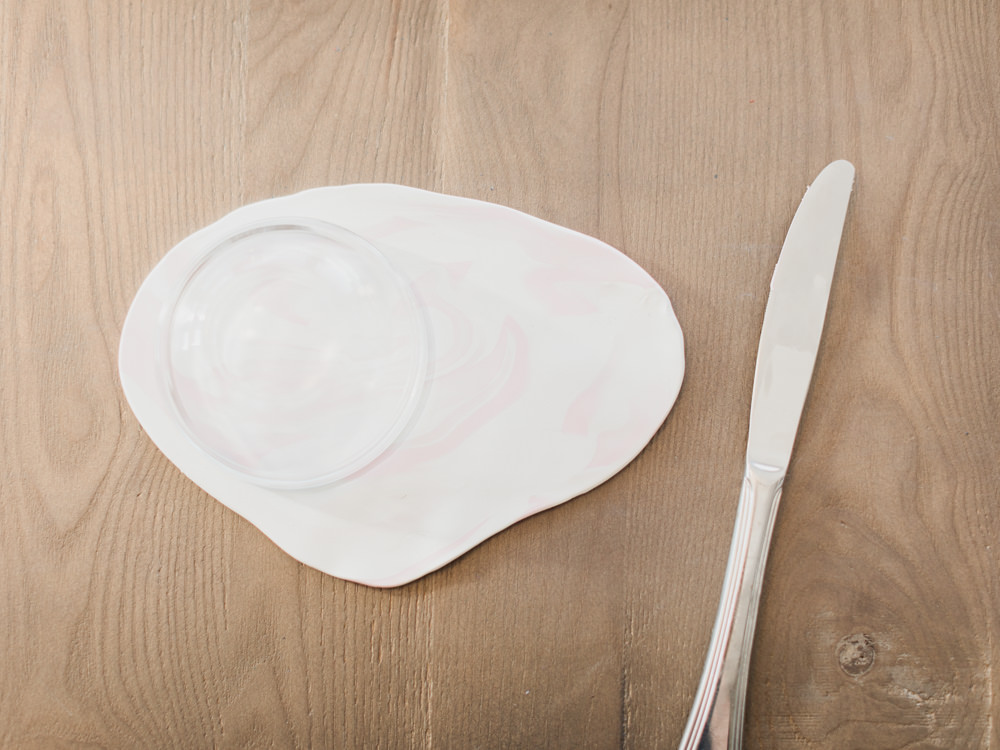
7. Place your circle gently into a oven-safe bowl or ramekin that is a little smaller than your circle so it will sag a little in the center and give you more of a dish shape if that’s what you prefer. This will give you a more even bowl. If you place it over the underside of a bowl for a more unfinished look, it will be less even. Bake the bowl according to the temperature on the clay package (mine was 15 minutes at 275°F). For elevations above 3500 feet, add about 8-10 minutes to your baking time. Remove the bowl from the oven and let that clay cool completely before touching it otherwise it may crack. Gently tap and it will pop off.
8. When cooled, use a paintbrush to paint the rim of the dish and allow the paint to dry. If you use the sharpie please remember these are waterbased and will need to be done after the glaze or the glaze will “drag” the edge colour into your bowl. Add any other designs you wish, like painting names onto the dish in acrylic and let it dry completely. Seal the dish with a glaze. Again, the glaze doesn’t make the dish waterproof or food-safe, but it does give a nice finish.

How simple and fun was that? Don’t worry if they look a little DIY to start, they photograph exceptionally well!
Repeat this process with a bottle of wine to have even more fun.
I hope you enjoyed this little DIY Clay Marble Dish Tutorial!
xo,
Nicole Sarah
Check out our latest post on wedding first look tips here!